
In this tutorial I introduce you to my techniques and tips on making stems, twigs and tree trunks without using wires or toothpicks. I haven't found any tutorials for these and I thought I would fill in the gap. I am a bit of a stickler, so I like to use only strips when I am quilling.
These are suitable for use in making cards or flower frames. Some of the pieces I have used this are
Twigs & Flowers,
Quilled Tree Landscape
Tree & Water
Butterfly Garden
Clematis Trail
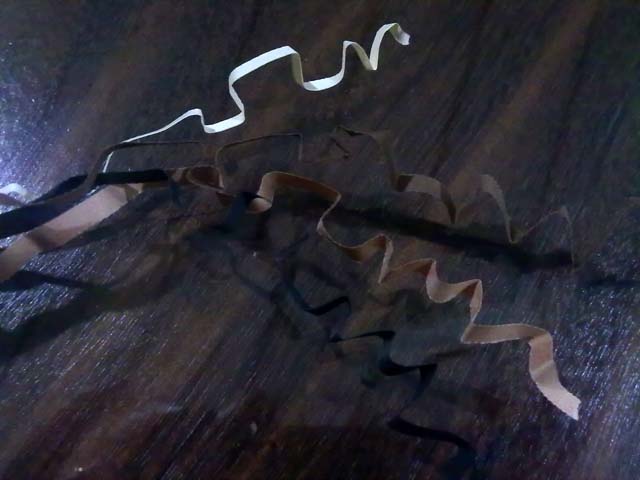
Twigs
You can make twigs that look gnarled or smooth using the same method.


- Take 2 brown strips.
- Apply glue to the top of one about 1 inch and glue the other strip on top.
- Then fold the strips on either side (branches) alternately as shown in pic 3 above. Make sure you fold at the crotch ( area where a trunk splits into two or more ) .
- Now glue the folds together and continue to fold and glue till you complete the twig as shown in pic 4.
- Make sure the branches get longer towards the bottom. One strip will form the right branches while the other strip will form the left.
- If you want the gnarled look crimp it unevenly with your hands as shown in pic 6.
- If you require the branches to pop up, fold it diagonally at the crotch as in pic 5.
Stems


- Take 2 strips of the same green or different greens.
- Glue one to the other slightly misaligned as in pic1.
- Now curl the tip around a toothpick to shape, apply glue lightly to the inside of the curl and along the rest of the inner strip and twist it between your thumb and forefinger like you twist a wick as shown in pics 2& 3.
- It is easier to twist if you hold the untwisted strips in one hand as shown in pic 4 and hold the twisted part just above with the other hand and turn it.
- Make sure the unwound part is not at 90 degrees to the wound bit, it should be at an angle of 135 degrees.( look carefully at pic 4).
- If there are unwound, loose bits as shown in pic 5 simply apply glue on top and twist it into shape.
- You can apply glue lightly to the stem and allow it to dry if you want it to be stiff.
- If you want thicker stems, wrap 2 more strips on the thin stem making sure that you wind with the strips at about 135 degrees.
- Always wind a maximum of 2 strips, any more will make the stem look too gnarled for a stem.
- Remember stems should be smooth as they are tender snd do not get gnarled.
Tree Trunks


- Take several shades of brown, yellow and black and hand crimp/ crush unevenly as shown in pic 1.
- Paste the strips, starting from the lightest to the black on one side to form the trunk. ( This is the side where the light is coming from).
- Paste the dark strips to form the other side of the trunk as in pic 2 graduating to the darkest color towards the end.
- Now glue shorter light colored pieces shaped like the roots to the light side and dark shades to the other shadowed side as shown in pic3.
- Now tear up the rest of the strips to different lengths as shown in pic 4.
- Glue the strips, slightly curving from the light side to the shadow side, making sure you use more light shades on the light side and dark shades on the shadow side, but do include light colors on the shadow side as well.
- Glue enough pieces to cover the white but allow a bit of space so that the shadow of the strip will give the white paper, color. ( see pic 6).
- Look at pencil shaded images to get an idea of how the contours of lines create depth, light and shadow and think of the paper strips as pencil lines.
- If you need the outline, make it with a stylus and emboss it so that there are no ugly pencil marks.


0 nhận xét:
Đăng nhận xét